


 Serverless Workers
Serverless Workers are serverless functions that run JavaScript code in the cloud.
Workers run server-side, which makes them a good fit for centralized application data and backend logic. See Integration with Puter.js for how worker code accesses Puter resources.
Router
Workers use a router-based system to handle HTTP requests and can integrate with Puter's cloud services like file storage, key-value databases, and AI APIs. Workers are perfect for building backend services, REST APIs, webhooks, shared data stores, and data processing pipelines.
Examples
Simple GET endpoint
// Simple GET endpoint
router.get("/api/hello", async ({ request }) => {
  return { message: "Hello, World!" };
});
Handle POST request and get JSON body
router.post("/api/user", async ({ request }) => {
  // Get JSON body
  const body = await request.json();
  return { processed: true };
});
Using :paramName in route path to capture dynamic segments
// Dynamic route with parameters
router.get("/api/posts/:category/:id", async ({ request, params }) => {
  const { category, id } = params;
  return { category, id };
});
Return JSON response
router.get("/api/simple", async ({ request }) => {
  return { status: "ok" }; // Automatically converted to JSON
});
Integrate with any Puter.js API
router.post("/api/kv/set", async ({ request }) => {
  const { key, value } = await request.json();

  if (!key || value === undefined) {
    return new Response(JSON.stringify({ error: "Key and value required" }), {
      status: 400,
      headers: { "Content-Type": "application/json" },
    });
  }

  await me.puter.kv.set("myscope_" + key, value); // add a mandatory prefix so this wont blindly read the KV of the user's other data
  return { saved: true, key };
});

router.get("/api/kv/get/:key", async ({ request, params }) => {
  const key = params.key;
  const value = await me.puter.kv.get("myscope_" + key); // use the same prefix

  if (!value) {
    return new Response(JSON.stringify({ error: "Key not found" }), {
      status: 404,
      headers: { "Content-Type": "application/json" },
    });
  }

  return { key, value: value };
});
Object
router- The router object for handling HTTP requests
Tutorials
Workers API
In addition, the Puter.js Workers API lets you create, manage, and execute these workers programmatically. The API provides comprehensive management features including create, delete, list, get, and execute worker.
Functions
These workers management features are supported out of the box when using Puter.js:
puter.workers.create()- Create a new workerputer.workers.delete()- Delete a workerputer.workers.list()- List all workersputer.workers.get()- Get information about a specific workerputer.workers.exec()- Execute a worker
Examples
You can see various Puter.js workers management features in action from the following examples:
Deployment
Once your worker is ready, you can put it online on a free *.puter.work subdomain.
Publish from puter.com
The quickest way to publish a worker is to create it on puter.com and publish it.
-
Create a
.jsfile containing your worker code.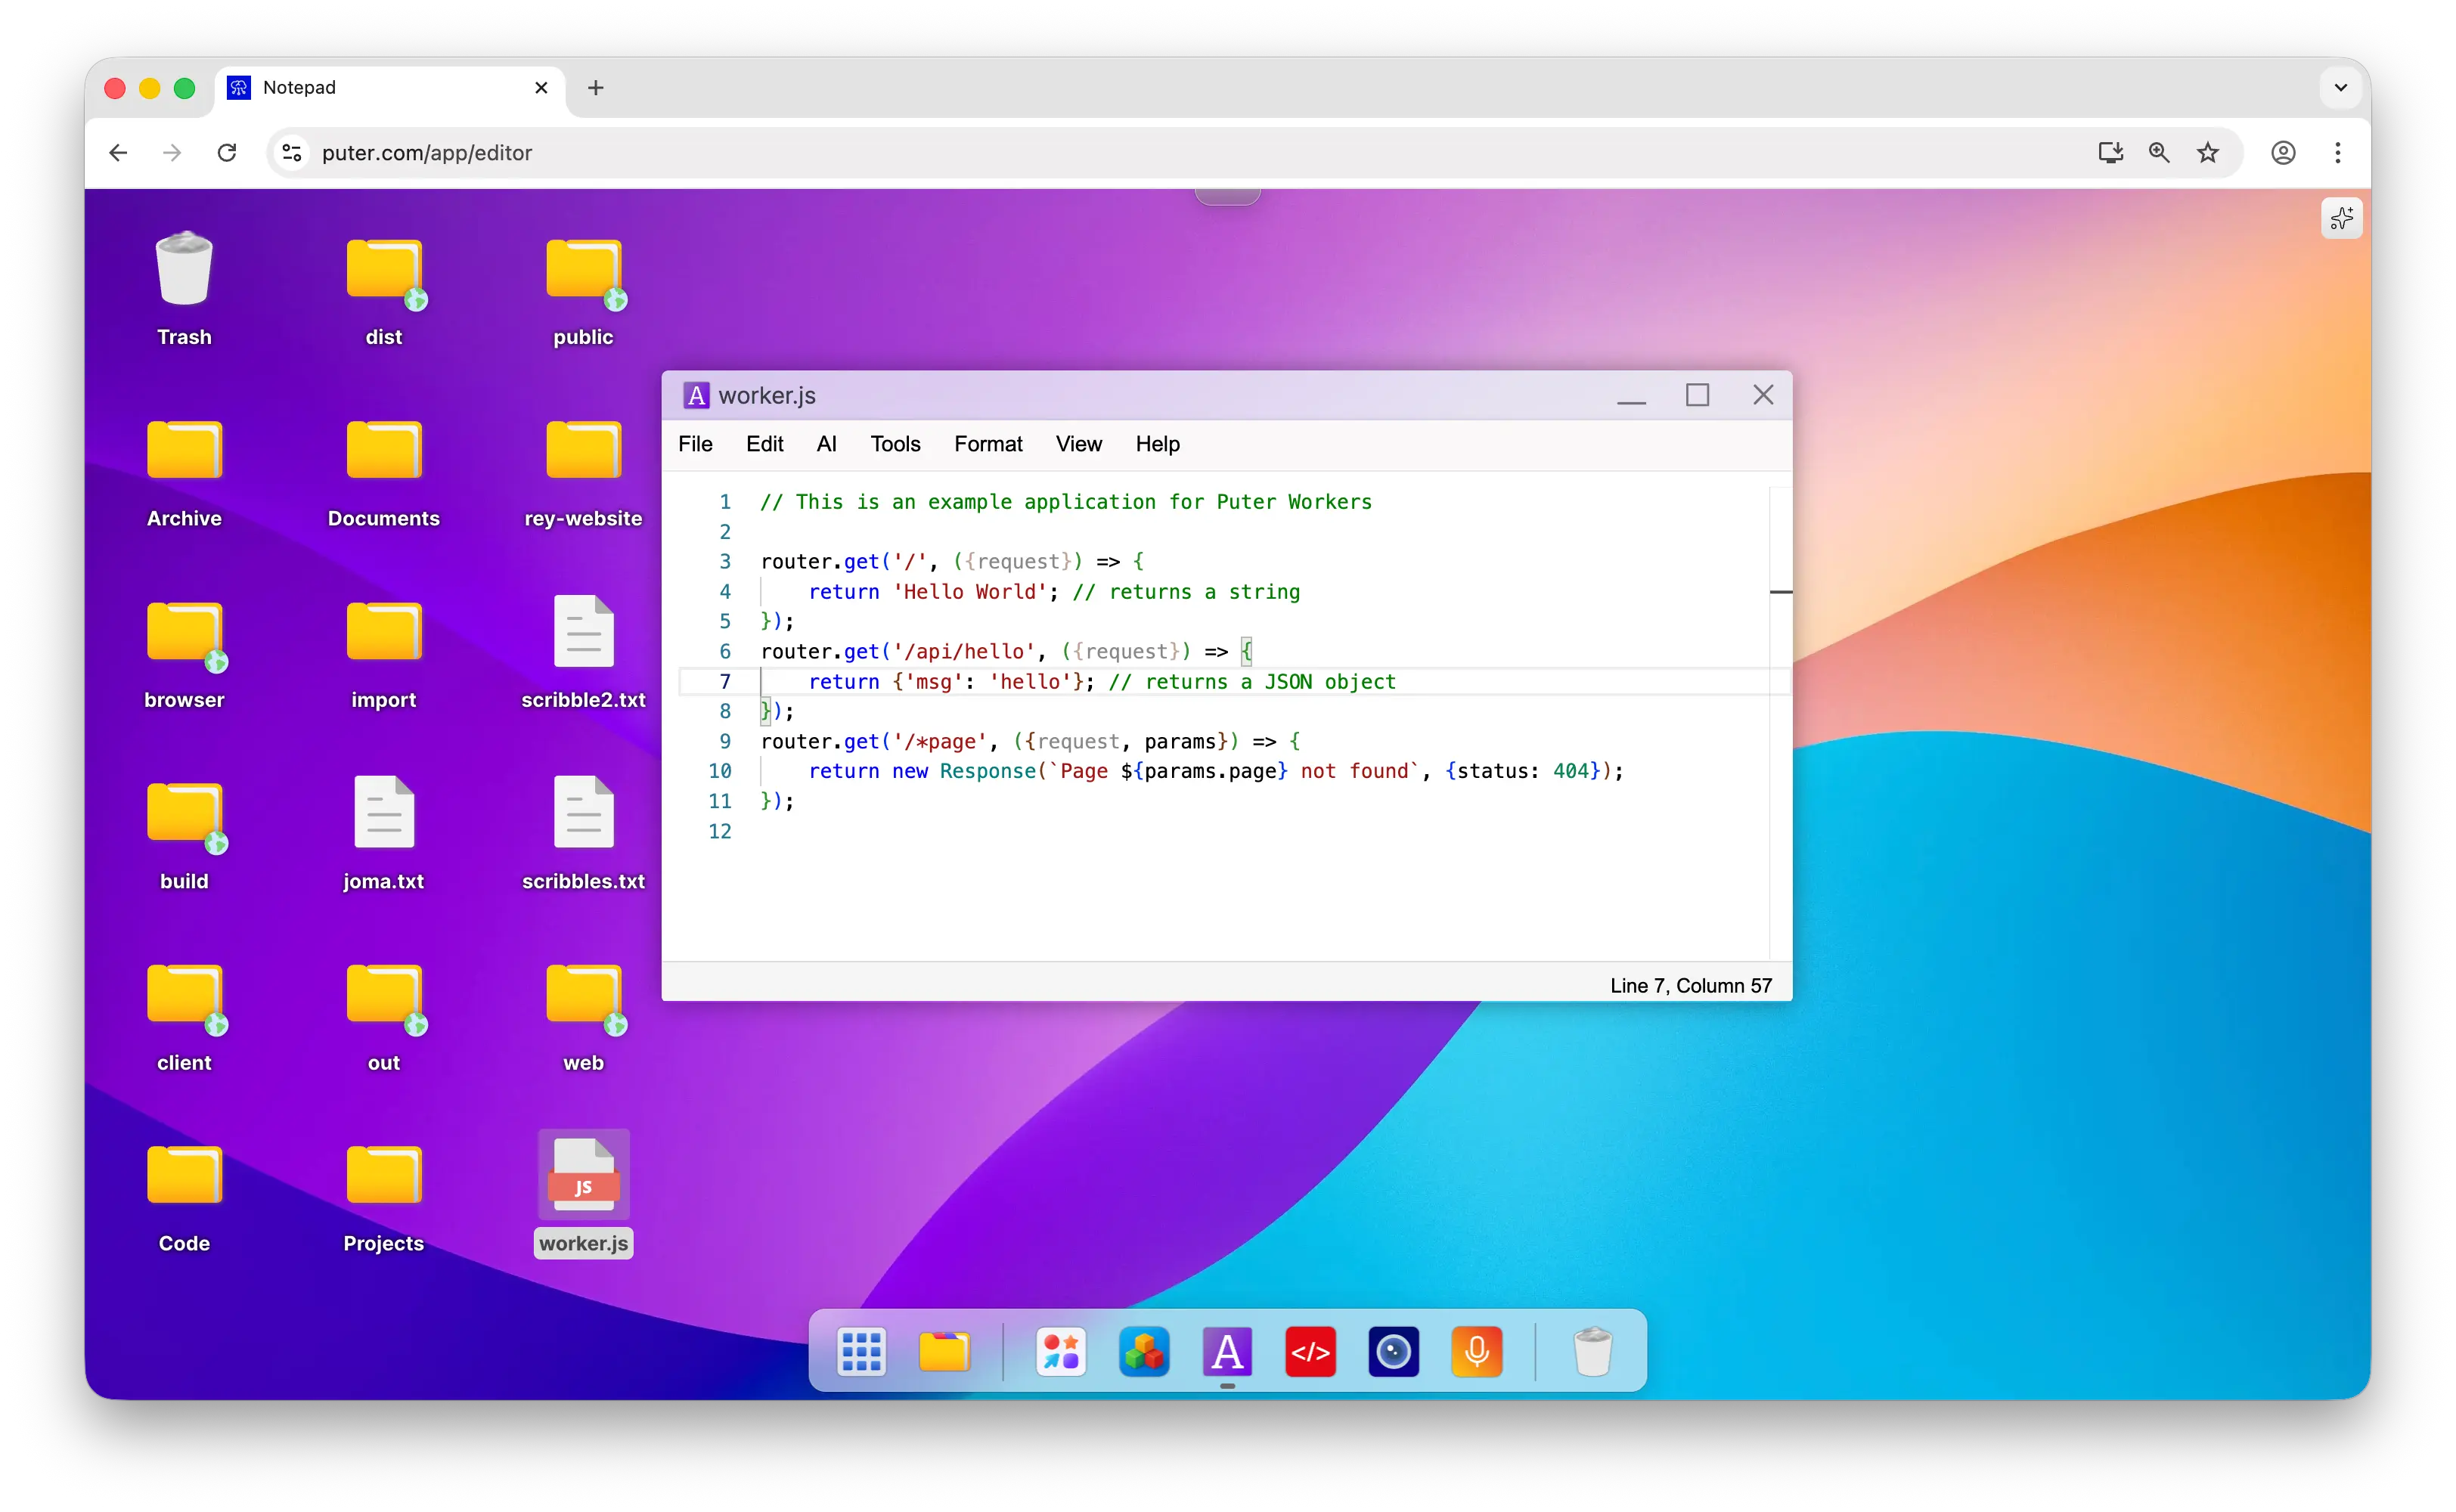
-
Right-click the file and choose Publish as Worker.
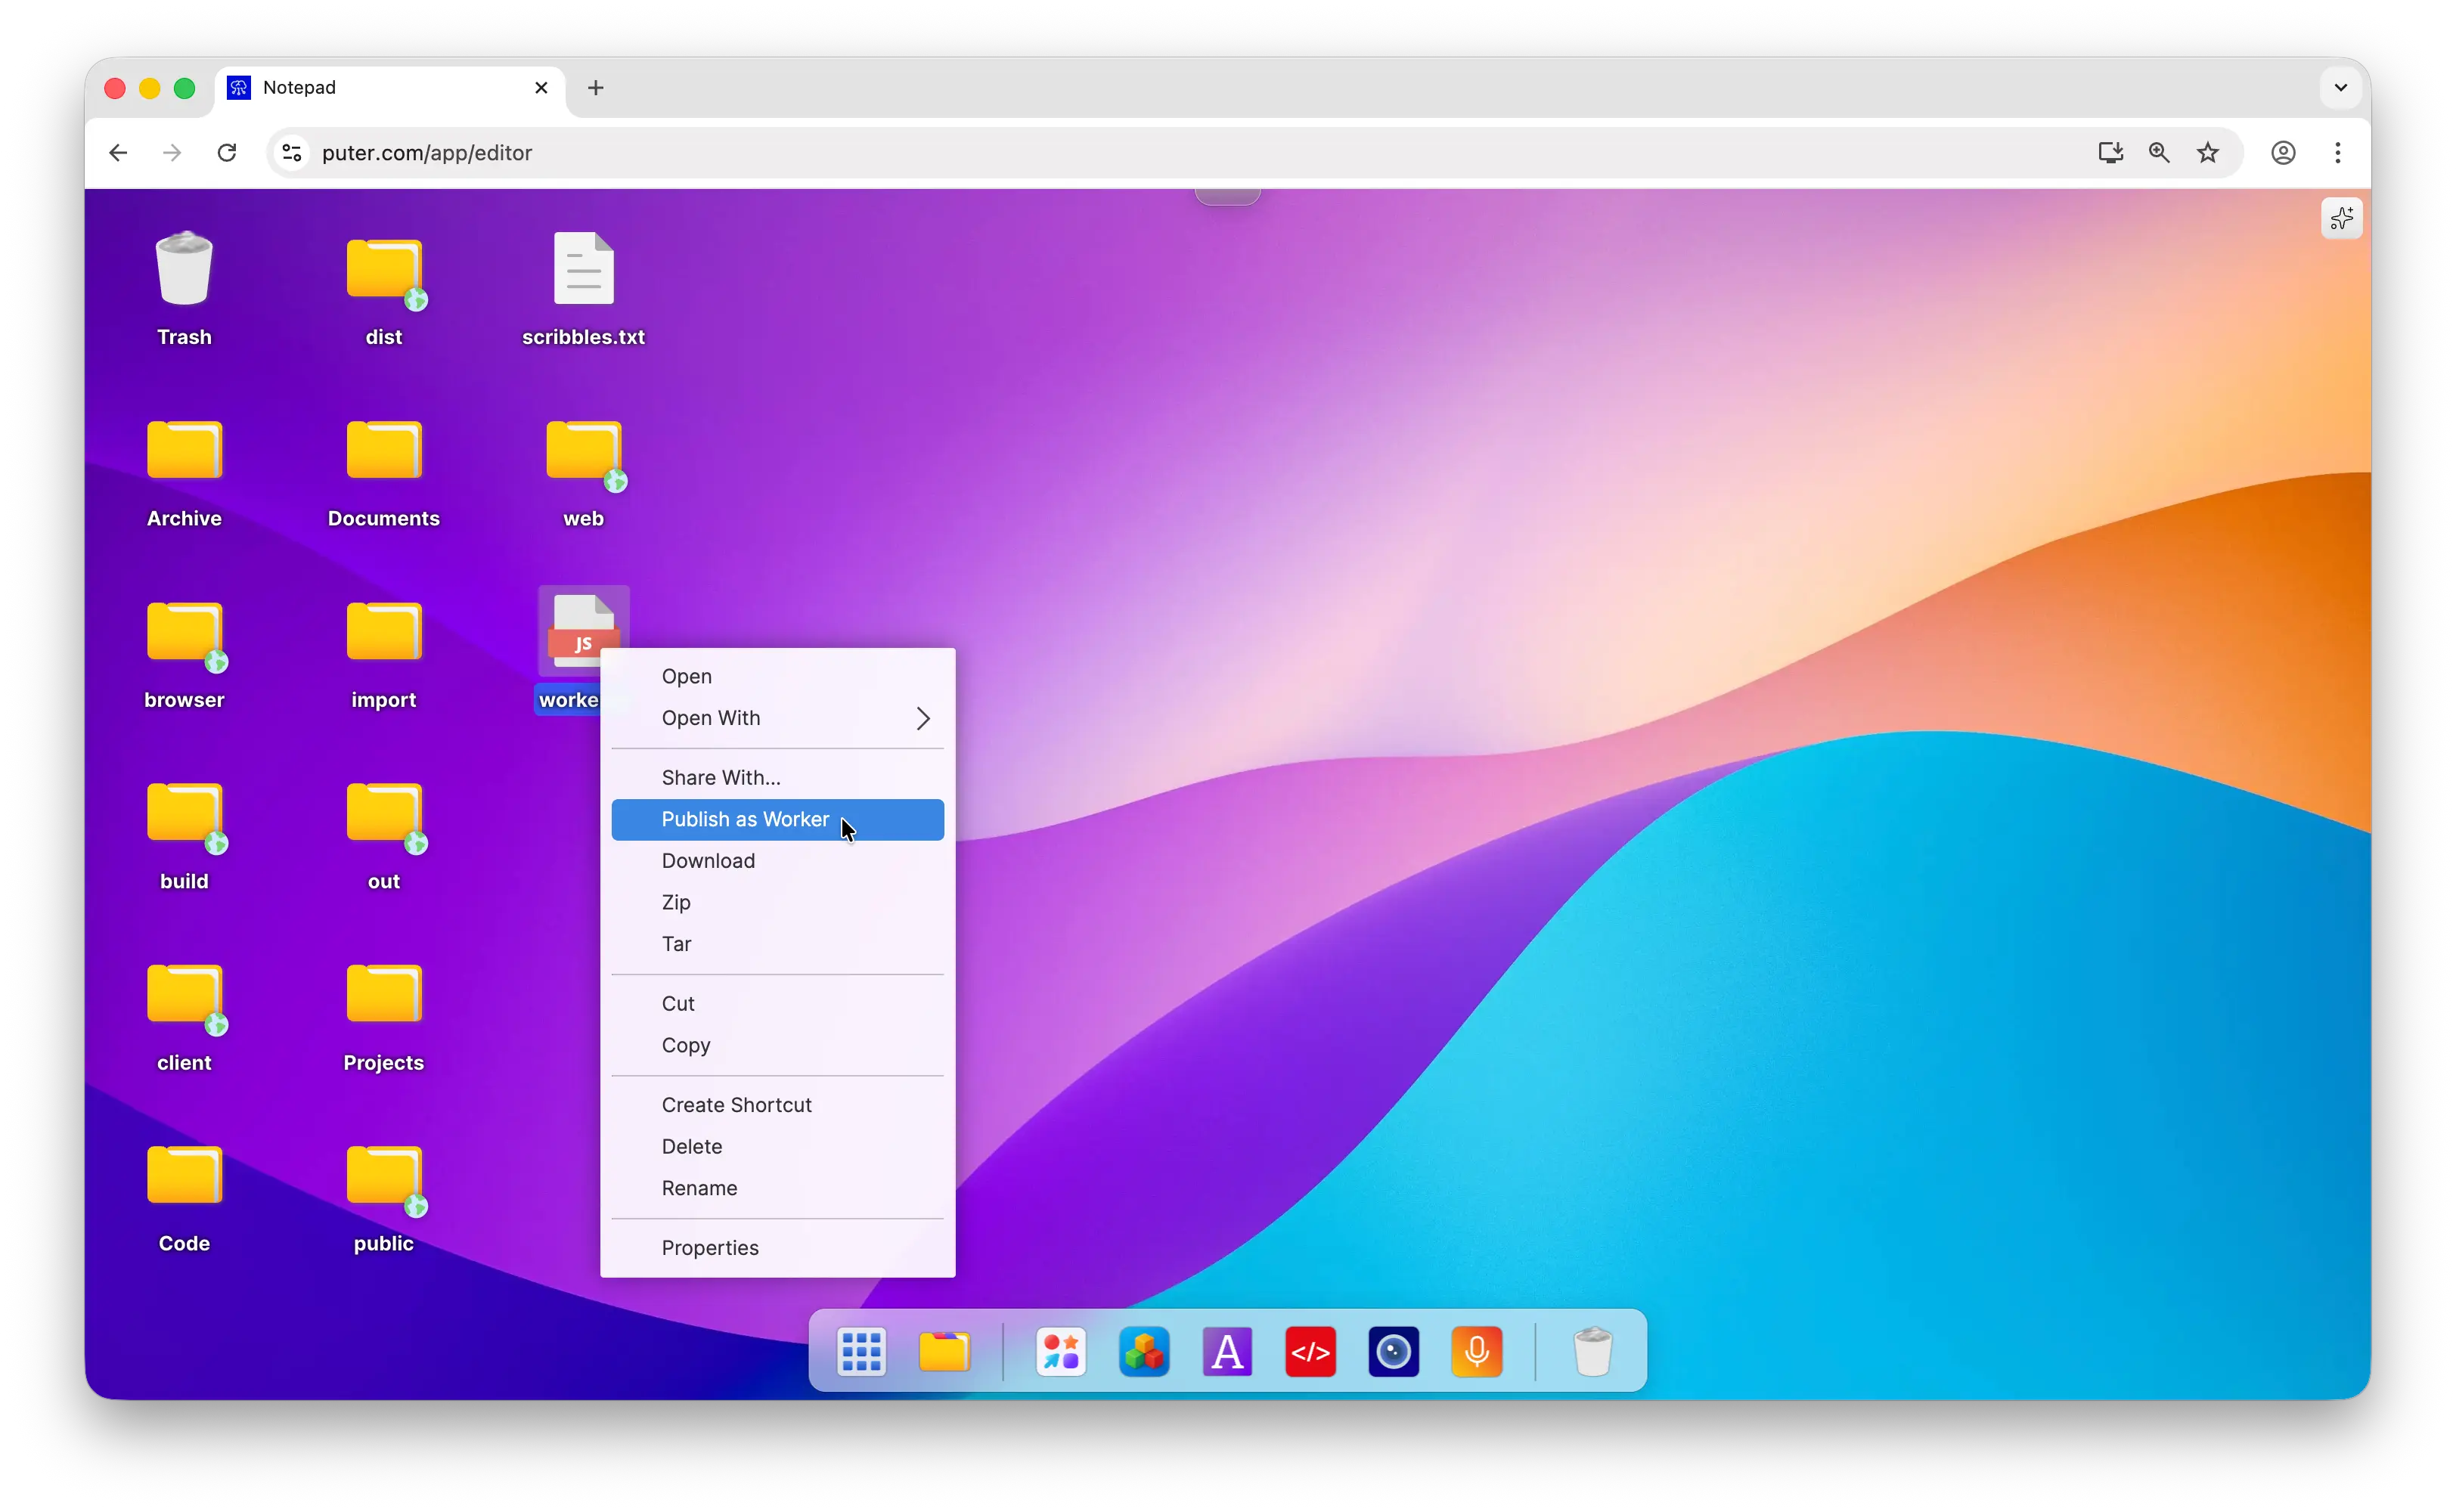
-
Pick a name and click Publish. Your worker is live at
https://your-worker.puter.work.
Deploy with the Puter CLI
You can also deploy straight from the terminal with the Puter CLI.
Install it globally:
npm install -g @heyputer/cli
Then deploy your worker's JavaScript file to a *.puter.work subdomain:
puter worker deploy [file] [name]
Both arguments are optional — run puter worker deploy with no arguments and the CLI prompts you for the file and worker name.
Automate with GitHub Actions
If your worker's code lives on GitHub, you can redeploy it automatically on every push using the Puter Worker Deploy Action.
Add a workflow file at .github/workflows/deploy-worker.yml:
name: Deploy Worker to Puter

on:
  push:
    branches: [main]

jobs:
  deploy:
    runs-on: ubuntu-latest
    steps:
      - uses: actions/checkout@v4

      - name: Deploy worker
        uses: HeyPuter/puter-worker-deploy-action@v1.0.1
        with:
          worker_name: my-api             # publishes to my-api.puter.work
          puter_path: ~/Workers/my-api/   # where to store the files on Puter
          source_path: worker             # the folder containing your worker
          entry_file: index.js            # the worker's entry file
          puter_token: ${{ secrets.PUTER_TOKEN }}
PUTER_TOKEN and set its value to your Puter auth token (see creating secrets for a repository). To get your auth token, follow the Puter auth token tutorial.