


Deployments
Once you've integrated Puter.js into your app, the next step is getting it online.
Puter.js is a regular JavaScript library, so your app deploys like any other website. You can ship it to any hosting platform you already use, or host it directly on Puter.
Deploy anywhere
Because Puter.js runs entirely in the browser, there's no special backend to provision. Build and serve your app the same way you would any other website, on any hosting provider, such as Vercel, Cloudflare Pages, Netlify, or GitHub Pages.
No extra configuration is required. Your app keeps talking to Puter's services from the browser, wherever it's hosted.
Deploy to Puter
Puter can also host your website for you, on a free *.puter.site subdomain.
Publish from puter.com
The quickest way to publish a website is to upload it on puter.com and publish it.
-
Right-click on the desktop and create a new folder for your website's files.

-
Open the folder, right-click inside it, and choose Upload Here to upload your website's files (your
index.htmland any other assets).
-
Right-click the folder and choose Publish as Website.
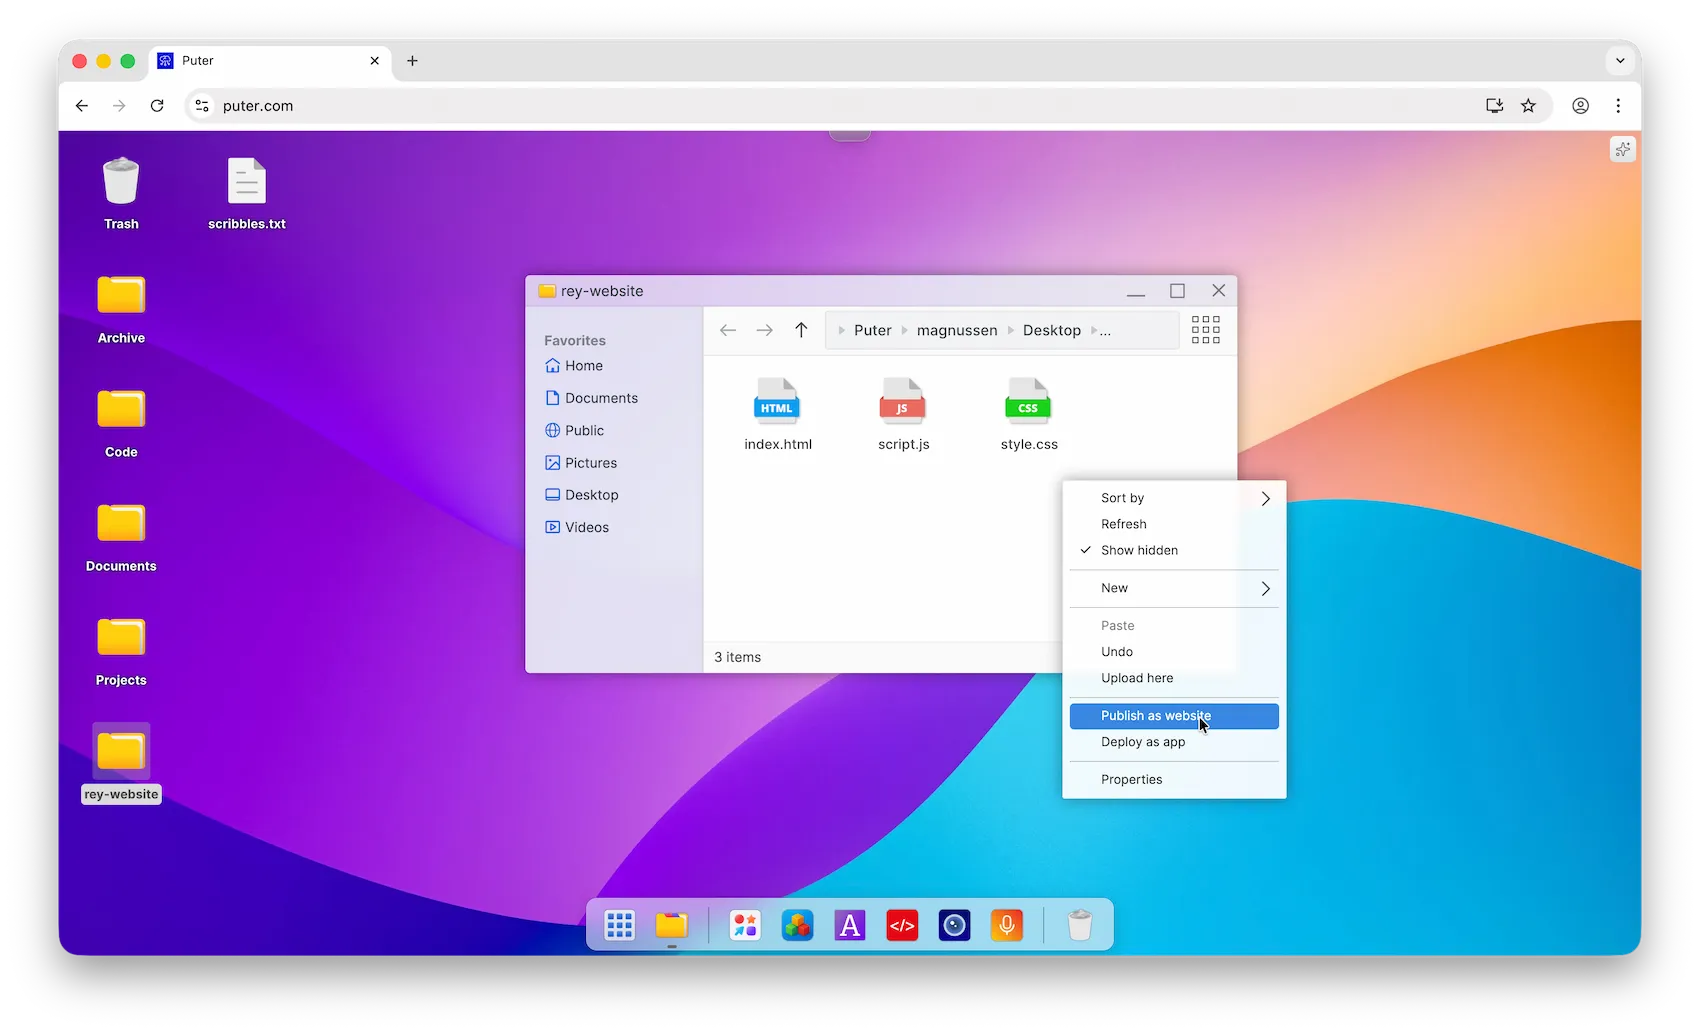
-
Pick a subdomain and click Publish. Your site goes live instantly at
https://your-subdomain.puter.site.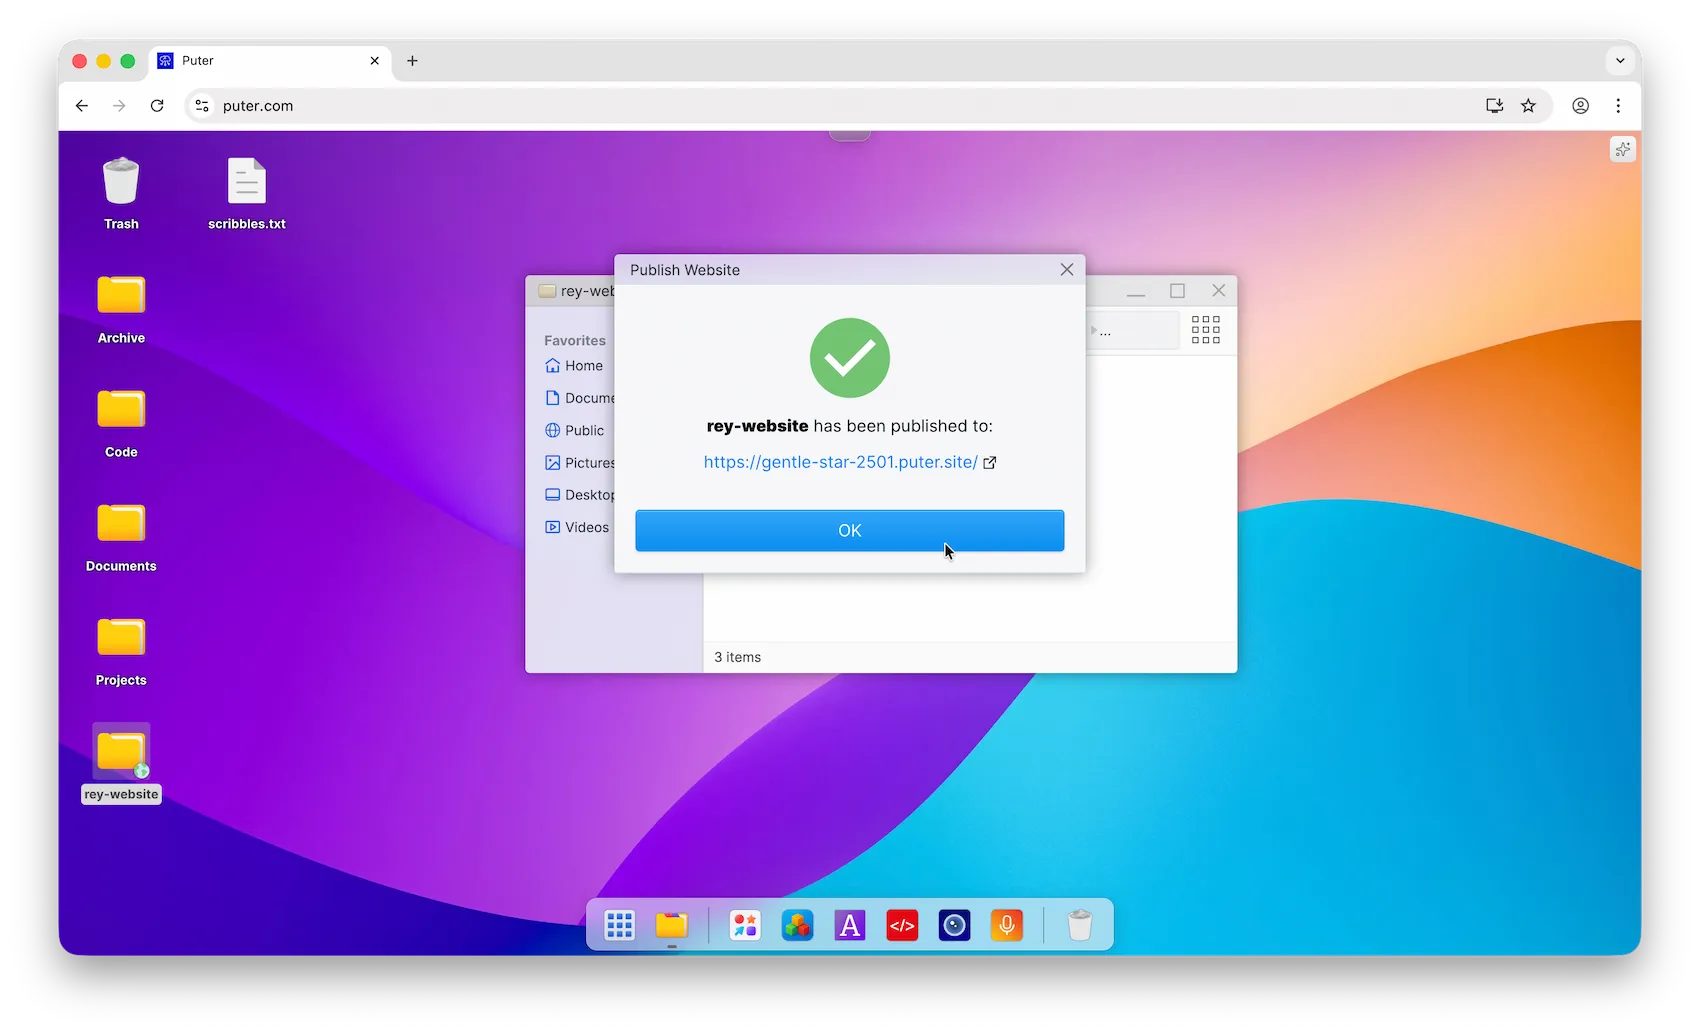
Deploy with the Puter CLI
You can also deploy straight from the terminal with the Puter CLI.
Install it globally:
npm install -g @heyputer/cli
Then deploy your site's directory to a *.puter.site subdomain:
puter site deploy [dir] [subdomain]
Both arguments are optional: run puter site deploy with no arguments and the CLI prompts you for the directory and subdomain.
Automate with GitHub Actions
If your code lives on GitHub, you can redeploy your site automatically on every push using the Puter Subdomain Deploy Action.
Add a workflow file at .github/workflows/deploy.yml:
name: Deploy to Puter

on:
  push:
    branches: [main]

jobs:
  deploy:
    runs-on: ubuntu-latest
    steps:
      - uses: actions/checkout@v4

      - name: Deploy website
        uses: HeyPuter/puter-subdomain-deploy-action@v1.0.6
        with:
          subdomain: my-site                        # publishes to my-site.puter.site
          puter_path: ~/Sites/my-site/deployment/   # where to store the files on Puter
          source_path: dist                         # the folder to deploy (e.g. your build output)
          puter_token: ${{ secrets.PUTER_TOKEN }}
PUTER_TOKEN and set its value to your Puter auth token (see creating secrets for a repository). To get your auth token, follow the Puter auth token tutorial.If your project has a build step, run it before the deploy step (for example npm ci && npm run build) and point source_path at the build output.